Are you considering sprucing up your concrete floors on your own? Polishing concrete floors can be a really rewarding project, but it's important to approach it correctly. In this guide, we'll walk you through everything you need to know before getting started, from prepping the surface to sealing and polishing. We'll also share our top tips for achieving professional-looking results.
So whether you're planning to tackle this project yourself or just want to know more about the polishing process, read on!
Why Should You Polish Concrete Floors?
Polishing concrete is like sanding wood. It's both functional and attractive, elevating the concrete floors' overall aesthetic. However, concrete on its own is porous, meaning that even though the surface may look smooth, your polished concrete floors may still have tiny pores where dirt and debris can penetrate them.
This is why concrete polishing is essential - it will give your floors a much cleaner look and make them easier to clean and maintain in the long run. In addition, the polishing process will help prevent cracks in and on your concrete floors, especially since replacing concrete isn't easy or cheap. Plus, polished concrete floors are much more durable and resistant to stains than uncoated concrete.
Polishing concrete will make it stain-resistant and slip-resistant. Although polished concrete flooring may look shiny and slippery, the polishing process increases friction between the concrete floor, your shoes, and your feet.
Now that you know why you need to polish your concrete floors, here are the things you need to do to get started.
Tools You Will Need for Polishing Concrete Floors
The type of concrete floor polishing tools you'll need will depend on the condition of your concrete floors and how much polishing you want to do. For minor touch-ups, all you really need is a hand-held rotary tool with abrasive diamond bits. However, if you're starting with completely raw concrete or your concrete floors are in bad shape, then you'll need some larger equipment.
Here's a list of concrete floor polishing tools you may need: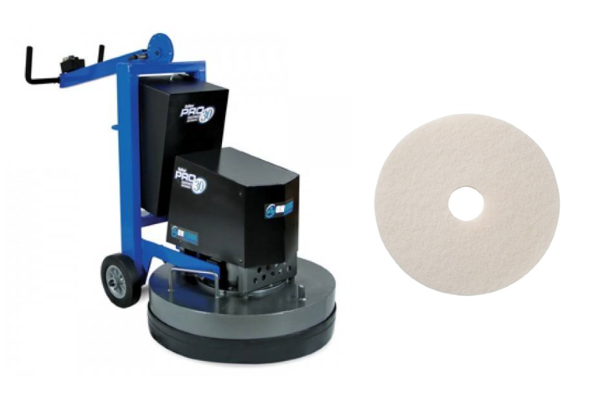
1. Concrete Polisher And Polishing Pads
These items are essential for polishing concrete. A concrete polisher comes in many types and models, but the most basic would be the single and dual heads. There are hand-held or wireless versions of a concrete polisher too, but these are better for smaller jobs. If you are polishing a large room or several rooms, the single or dual head will be perfect.
Polishing pads are essential because they are reusable, so you can wash them after each polish. However, they have a lifespan, so always check on the polishing pad to see if they are still good to go or need to be replaced. There are different types of polishing pads depending on the level of shine you want to achieve but basically, the higher the number of the polishing pad, the higher the shine.
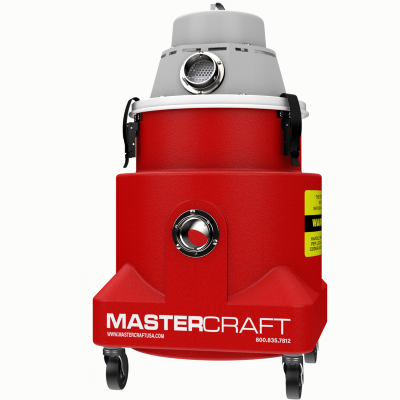
2. Vacuum Cleaner With a HEPA Filter
A regular vacuum will not do. You need a vacuum that has a HEPA filter. A regular vacuum will just spread the dust around, and you don't want that, whereas a vacuum cleaner with a HEPA filter will capture all the dust in one go. A full dust containment system is also a good idea if you have the budget for it.
3. Concrete Grinder
A concrete grinder is just a concrete polisher with a grinding pad. A diamond polishing pad is used to grind the hard concrete and smoothen it. Over time, concrete will get some chips from foot traffic and other forms of pressure, which is where a concrete grinder comes in, as it will help level out these chips and give you better finished concrete floors.
4. Concrete Stain
A concrete stain is a water-based solution poured over newly polished concrete. The stain then becomes a part of the concrete itself. The stain is usually used to add color to the concrete to make it more aesthetically pleasing.
5. Concrete Sealer
A concrete sealer protects the concrete from dirt, spills, and stains. A good quality concrete sealer will make the concrete more durable and easier to clean.
6. Floor Buffer
A floor buffer is a large machine that buffs or polishes the floor. The machine has a rotating disk that is covered in either sanding paper or a polishing pad. The floor buffer is pushed across the floor to buff or polish the floor.
7. Concrete Hardener
A concrete hardener is another water-based solution that is added on top of the concrete (before the stain) to essentially harden the concrete. Since the concrete is porous, the hardener will penetrate through the pores of the concrete and close them up, fortifying the concrete in the process.
The Concrete Polishing Process
Now that you know the tools you need, it's time to start polishing! There are two types of concrete polishing processes: dry polishing and wet polishing.
Dry Polishing Method
Dry polishing is a basic method of polishing concrete. It involves using a concrete polisher with a set of diamond impregnated pads. The dry polishing process is typically used for small jobs or touch-ups. It has the most shine compared to wet polishing but has a longer downtime.
Here are the steps in a dry polishing process.
1. Clean off the area/s of any dust and debris
Before you go in and start the polishing process, you will need to clean off any dust and debris on the concrete surface. If you don't clean the surface before polishing, all the dust and debris will be embedded in the concrete surface or floor you are polishing. This can lead to imperfections and even visual cracks on the finished surface of the concrete flooring.
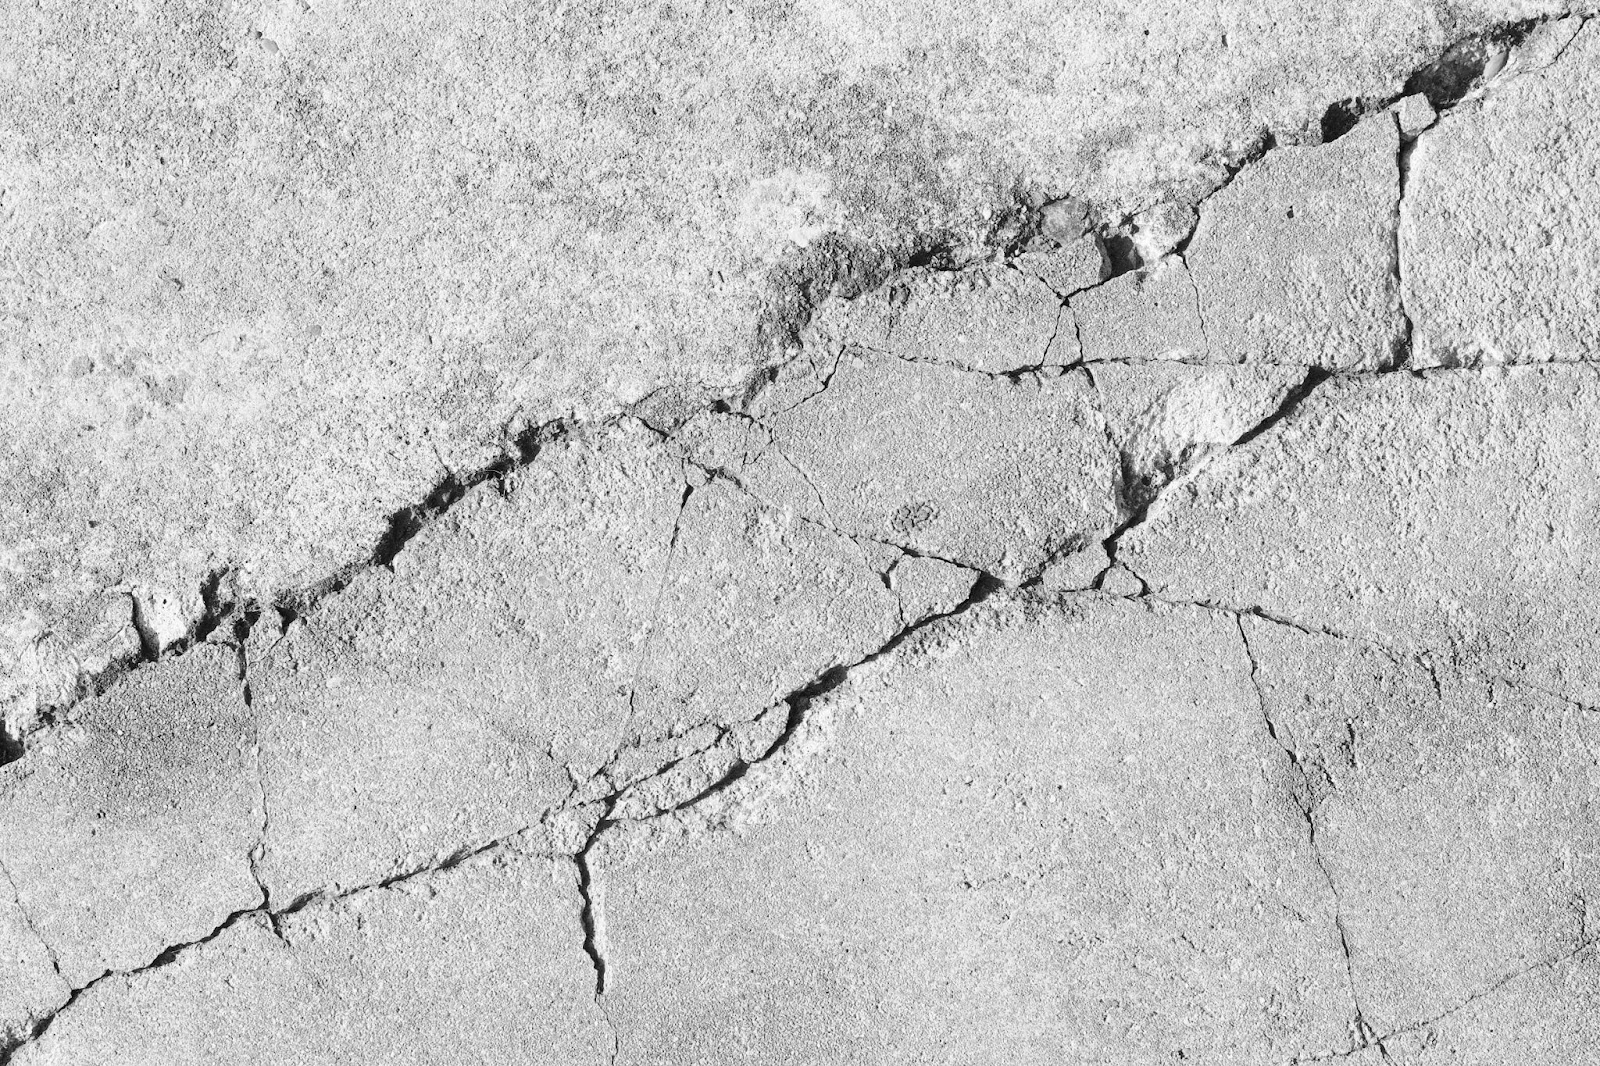
2. Inspect and seal off any visual or large cracks
Before you start polishing and grinding the concrete floor, you will need to inspect it first for any cracks. Polishing and grinding the floor without sealing off any cracks can make the gaps bigger or add more cracks to the concrete floor. If there are any cracks present, make sure to apply a concrete sealer on them before proceeding with the rest of the process.
3. Grind the concrete floor
Before you get into polishing, you will need to grind off the floor first. Over time the concrete floor will get rough due to the foot traffic and other forces working on and against it, making the concrete uneven and rough. Concrete grinding will make the surface smoother, and if you add the sealants, it will grind it down so that the whole surface is even. In the grinding process, you are grinding off the old stains and sealers so that the new ones can be applied evenly across the floor.
4. Check the concrete floor for any more patches or cracks
Other cracks or areas that need fixing will usually come out again after grinding. You can go ahead and patch those up once more and regrind if needed. Usually, resin diamonds are used for these smaller patches.
5. Apply concrete sealer and stains
After patching up blemishes and grinding them down, you can now pour on the stains and sealers on top of the concrete. The stain will go first before the hardeners or sealers. Make sure that the concrete stain is dried before you pour the concrete hardener or concrete sealer on top. Once down, you can also go over with finer diamond polishing pads to buff out any unevenness.
Don't worry about messing up the stain. The concrete hardener on top will protect it while you buff out the surface of your concrete floor.
6. Polishing the concrete floor
Make sure to go in one direction and then step over the areas you have already passed. You want the concrete surfaces to look like polished marble once you are done. In the process, you will be going over progressively finer grinding tools to ensure that the surface is as smooth as possible compared to the other steps here, wherein you need a coarser grinding tool.
7. Go over with polishing pads
You can now swap out the grinding pads for the polishing pads and go over the concrete. Similar to the polishing process, you must go over the area in one direction so that you don't end up stepping or going over areas you have already polished before. The finished surface or finished concrete floors will get shinier from all the polishing with the progressively finer grinding tools and the polishing pads used at this point.
Wet Polishing Method
The main difference between dry and wet polishing methods is the cleaning and grinding process. In wet polishing, water is used to clear out all the dust and debris, turning them into a slurry that is swept or vacuumed. In addition, water is used for the grinding disks to keep them cool and to prevent the disk from loading up.
The advantage of wet polishing is that it produces less dust, and the process is much cleaner overall than dry polishing. In addition, it is also a lot easier on the workers since they won't be breathing in all the concrete dust. However, the downside to wet polishing is that it doesn't give the same shine as dry polishing. On the flip side, there is little to no downtime when you wet polish.
Wet polishing is best for large or commercial concrete floors where foot traffic is hard to control. You can notice this in commercial spaces where the polished concrete floors aren't the same as they would be in smaller places or even with concrete surfaces at home, like countertops.
Wrap Up
Polished concrete is a great way to update the look of any space, be it your home or office. It is also a great way to protect your concrete floors from wear and tear. If you are looking for an easy and cost-effective way to update your space, then polished concrete is the way to go. The process may seem daunting at first, but it is relatively easy with the right tools and knowledge. Just remember to take your time and go over the area evenly to get the best results.

8 comments